Adding Content to Your App
Give Your Users Information About Your List by Adding a List Explainer

List Explainers give your users information about what a particular List is for. Either what kind of content it contains, how to use the information in that List; or perhaps if it's a User Generated Content or Recognition List, what kind of content you would like them to post there.
When enabled, the List Explainer will appear as a pop-up for the user the first time they access a List in your app. When they press the confirmation button, it won't appear again for that user unless you change the text of the List Explainer, or manually reset it in the CMS to make it appear again for all users.
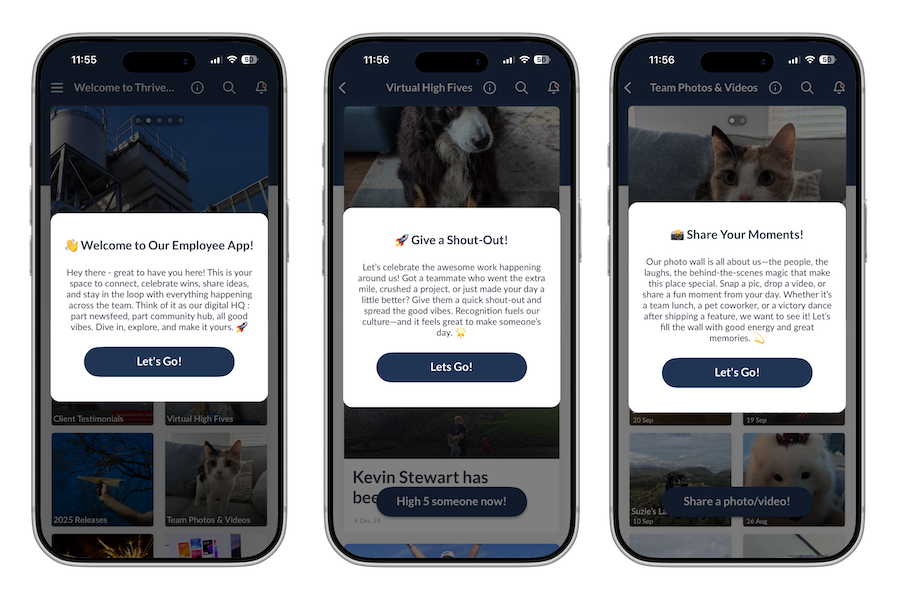
Here are a few examples of what List Explainers look like in your app:
Important Note:
List Explainers are available on app version 20.34.6 and above. If your organisation uses the Thrive app you can start to use List Explainers right away. However if you have a fully branded and named app in the Appstore, we'll need to release an update for your app to add this new feature. Please reach out to your Client Success Manager to request a priority app update if you're excited to start using List Explainers as soon as possible!
You can use List Explainers to:
- Give users guidance on what kind of photos and videos they should post to a UGC List
- Explain how your Peer to Peer Recognition List works
- Add a List Explainer to your Home Screen List to welcome new employees to your app
- Explain the rules for a UGC competition
- Give your employees a reminder about something really important happening in the organisation
- Give an explanation of the content your users will find in a given List
How to a Add an Explainer to a List in Your App
- Start by accessing the Appearance Tab of your chosen List
- Scroll down and tick the box labelled Display Information Popup:
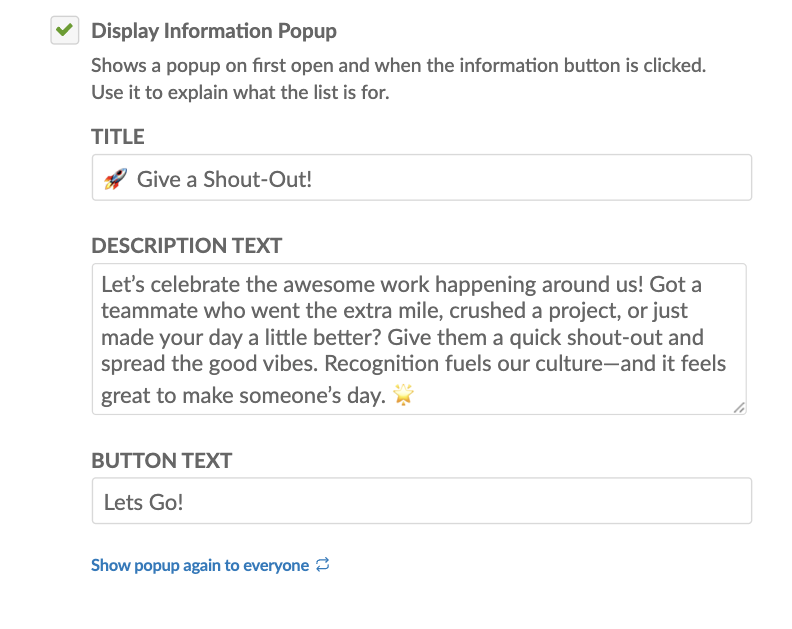
- Add a Title to your Explainer Popup. As shown in the example, adding an Emoji can help make it more visually interesting!
- Add the Text to your Explainer Popup. Try not to add too much text, though the Popup will automatically expand in size to accommodate your text.
- Add the Text for the Confirmation Button. Like the example, this could be something like Let's Go! OK! or Alright!
- Finally, press Save and Publish Now on your List to finish the process of adding your List Explainer.
Dismissing and Re-Viewing the List Explainer Popup
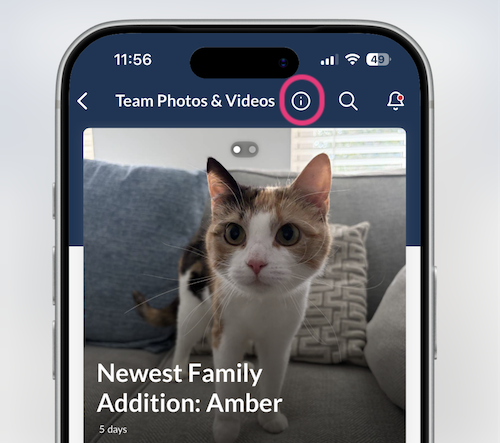
The List Explainer will only display for a user the first time they access that List. After they press the Confirmation Button, if they want to view the List Explainer text again, they can do so by pressing the Information Button at the top of the screen in that List:
Force Users to View and Confirm the List Explainer Popup Again
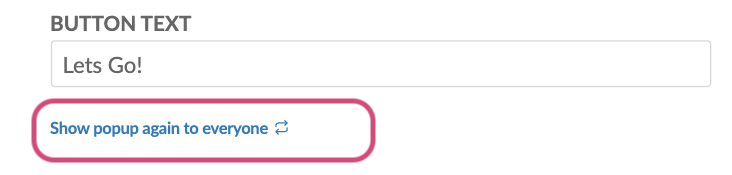
You also have the option to force all of your users to see the List Explainer Popup again even if they have already viewed it and pressed the confirmation button. For example, you may have made some changes to the title or text, you may want to use the Explainer to change the 'theme' of your UGC photos list; or perhaps your app welcome message on your homescreen has changed.
To force users to re-view and confirm the List Explainer Popup, simply make your changes to the Display Information Popup section in the List's Appearance tab, then click on the option below labelled Show Popup Again to Everyone. And as usual, make sure you finish by clicking Save and Publish Now on your List!