Thrive Formbuilder
How to Create a Form Using Thrive Formbuilder

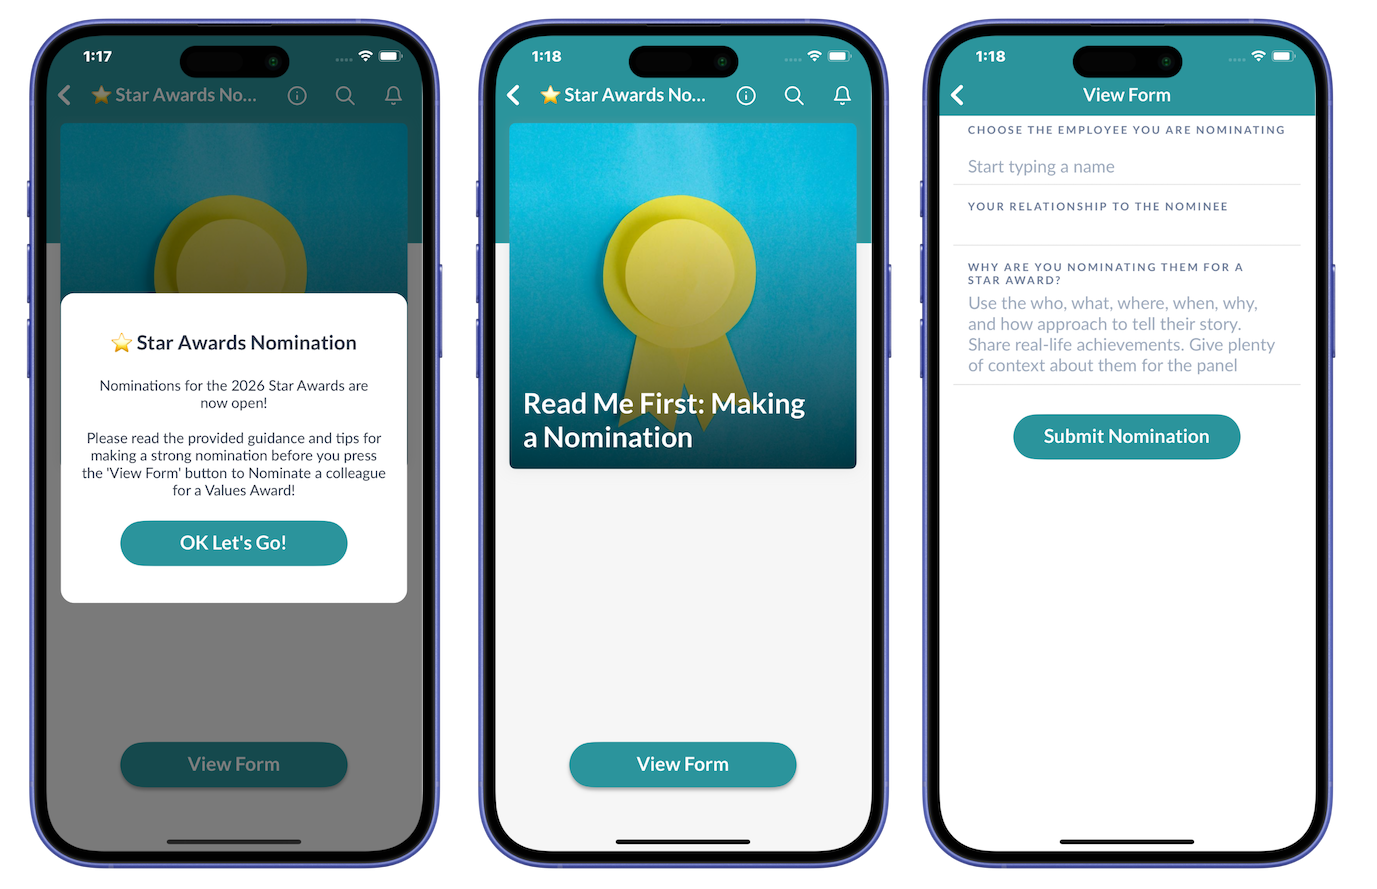
Thrive Forms are created at the List level. So to start the process of creating a new form, you'll want to create a new List in your app where you want the form to appear. As shown in the below image, when the user taps to open your 'form list', they'll launch the form using the button at the bottom of the screen. This means you can also post normal Page content inside this list if you want to give your users some extra guidance about completing your form. And because it's a List, you can also use the List Explainers feature (as shown below) to give your employees some extra context about the form.
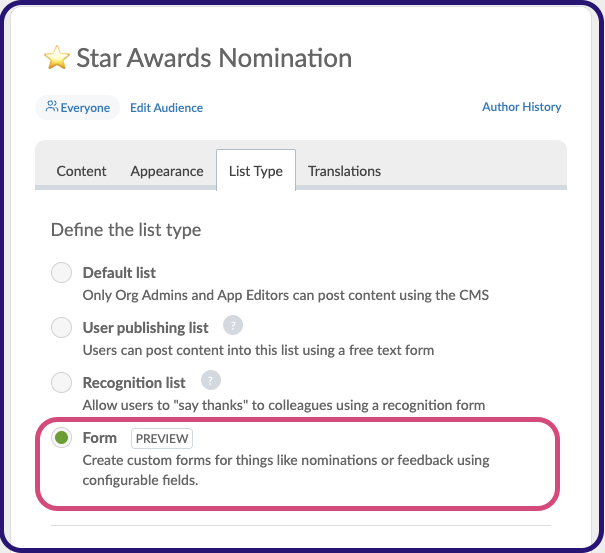
When you have created your new List, go to the List Type tab and select the Form option. This tells the CMS that you want to use this List for a Form for employees to complete in your app. At this point, it's probably also a good idea to use the Save button to save your Form List as a draft. As you go through the rest of this process to create your form, make regular use of the Save button to make sure you don't lose what you've created so far!
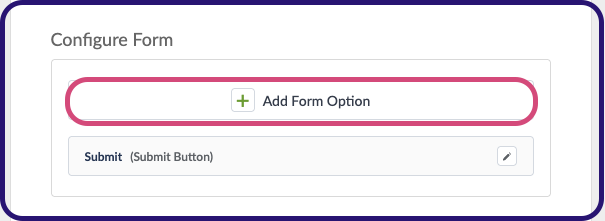
When you select the Form option in the List Type tab as shown above, the following Configure Form options will appear below. To add your first field to the Form, press + Add Form Option:
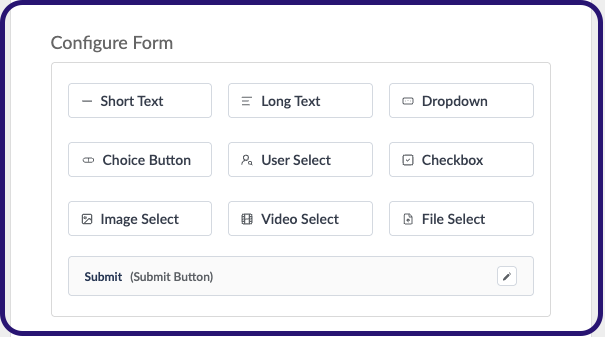
And when you press + Add Form Option, you can choose from the following Field Types to add to your form:
Note: Before you decide which fields you need to include in your form, remember: because these forms are Native to the Thrive platform, the Form will already recognise the employee that's completing it. This means that you do not have to include fields to ask them to enter their own name, employee number, department, job title, etc (as long as that data is held in the employee profile on the Thrive CMS that you provide in your user file or active directory integration). When you receive the employee's form submission either by accessing the form's downloadable report, or by receiving an email containing the submission, it will include these details about the user who completed the form automatically along with the options the user entered / selected in your form fields.
Here's an explanation of how to use each of these Field type options:
- Short Text: Ask the employee to enter a single line of text. Such as a Date or a Number for example.
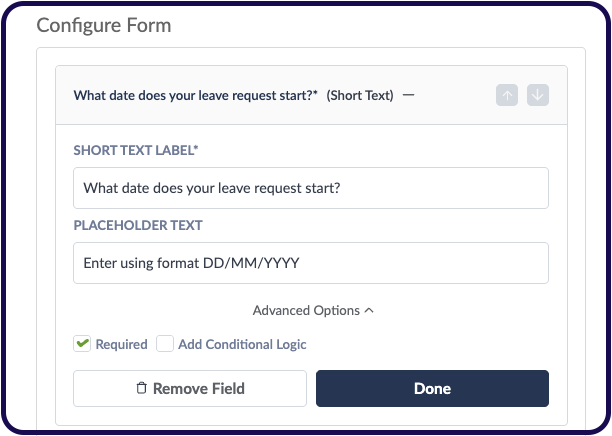
Use the Short Text Label to ask the employee to enter the required information. You can also use the Advanced Options dropdown to enter some placeholder text to give the employee further guidance, like in the example shown above.
Use the Required checkbox to mark the field as mandatory - so the employee cannot submit if it is left blank.
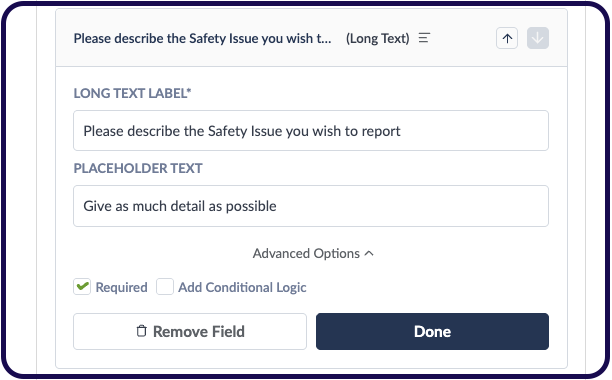
You can also use the Add Conditional Logic checkbox to make this field appear only in circumstances depending on what the employee has entered in previous fields. Please see our separate Help Centre article on using the Add Conditional Logic option for more information. - Long Text: Ask the employee to enter a paragraph of text. Such as giving a reason for nominating another employee for an award, or explaining an issue they have noticed on something like a 'Report a Safety Incident' form. This works exactly the same way as the Short Text option, but gives the user more space to enter more text:
- Dropdown: Ask the employee to choose one from a list of options. In the following example, we're asking the employee to choose a Hoodie size if they wish to order a Thrive.App branded hoodie using our Company Clothing Order Form:
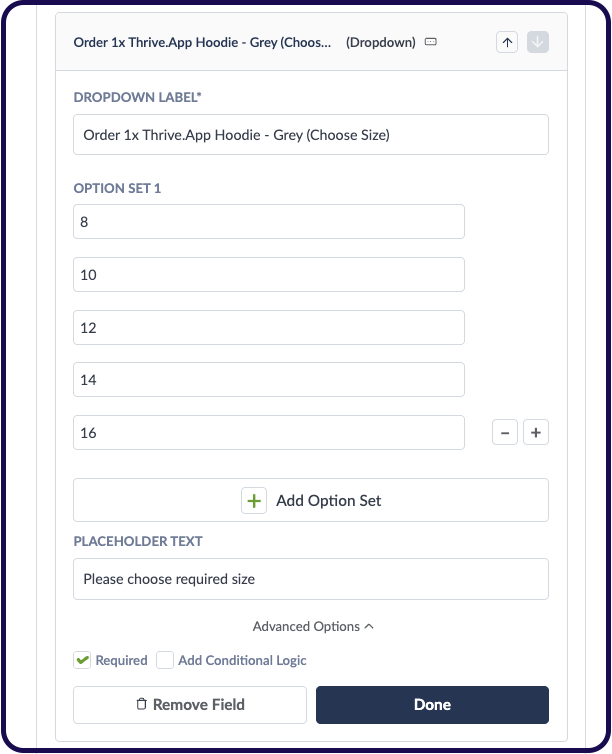
Use the Dropdown Label field to give your field a label / ask the employee to choose an option.
Now use the Option Set 1 fields to enter the options you want the employees to choose from. You can use the + and - buttons to increase and decrease the amount of provided options.
Also use the Placeholder Text field to give the employee further guidance about choosing one of the provided options like in the example shown above.
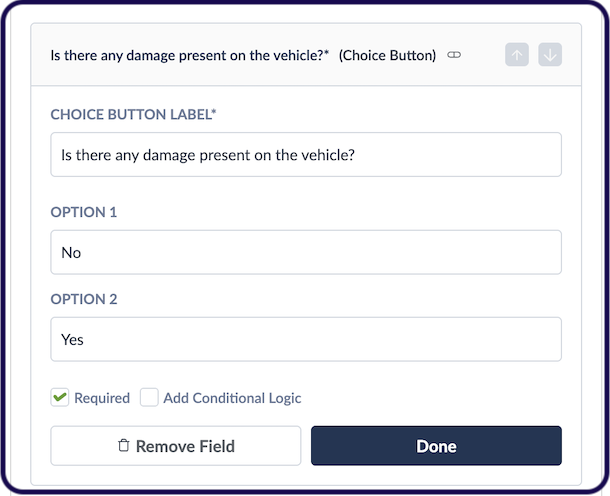
Optional But Powerful: You can also use the + Add Option Set button to add another set of options to the drop-down. Which set of options gets displayed to the user to choose from will depend on what they answered to a previous question... For example, in our Thrive Clothing Order Form both men and women can choose to order a any of the clothing items like the Hoodie in the previous example. But you might want men to only be able to order men's sizes, and women to order from the women's sizes. Please see our separate Help Centre article here on using multiple Option Sets with Dropdown fields. - Choice Button: Simply ask the user to choose between two options. Such as Yes or No, True or False, etc.
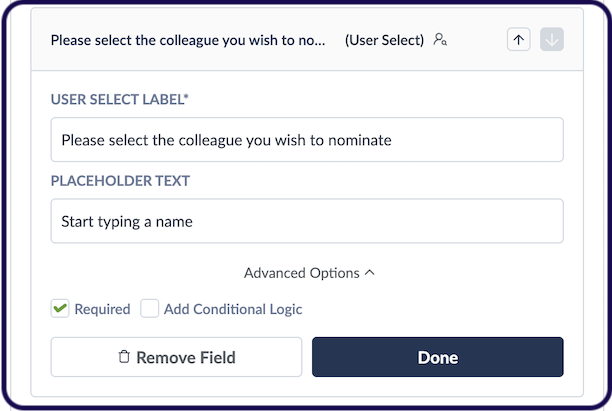
- User Select: Ask the user to choose one of your employees. When the user begins to type a name in this field it will search for that employee and they can tap on the profile of the person they wish to select. Similar to choosing a colleague to 'thank' in our employee recognition feature. In the example below, we're using the User Select field as part of an award nomination form. You could also perhaps use the User Select field to ask the employee to let you know who their Line Manager is if you needed to collect that information as part of an Annual Leave Request Form for example.
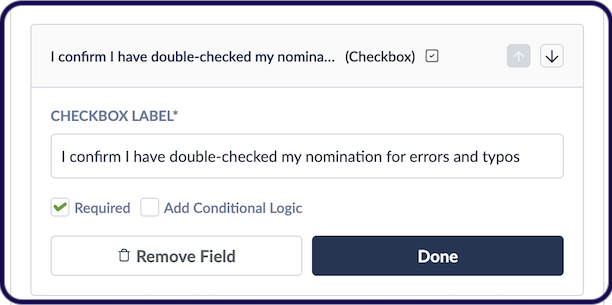
- Checkbox: Ask the user to tick a checkbox as confirmation of a statement, or to make a declaration.
- Image Select, Video Select & File Select: Ask the user to submit photos, videos or files. You can use the Advanced Options to set the amount of Photos, Videos or Files that can be submitted by the user. For something like a form to report Safety Incidents, you might want the employee to be able to submit photos or video of the safety issue they are reporting. Or on an Expenses claim form, you could use the File Select field to allow the employee to upload the PDF versions of their expense receipts like in the example below.
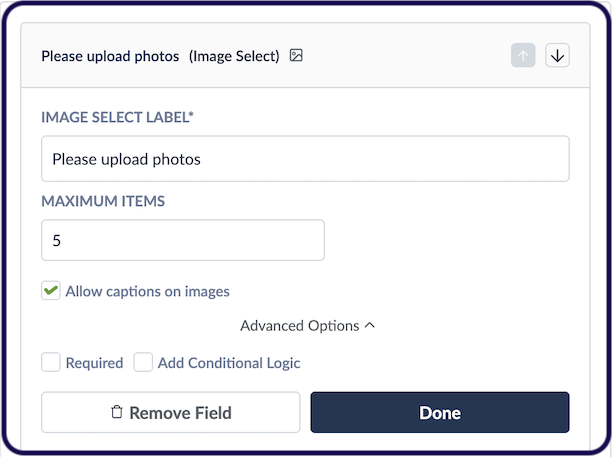
When using the Image Select field, you can also use the Advanced options to allow the users to give each photo they are submitting a 'caption' to describe what's going on in each photo.
As is the case with any videos that are uploaded to the Thrive Platform, videos should be .mp4 format and a maximum of 1GB in size.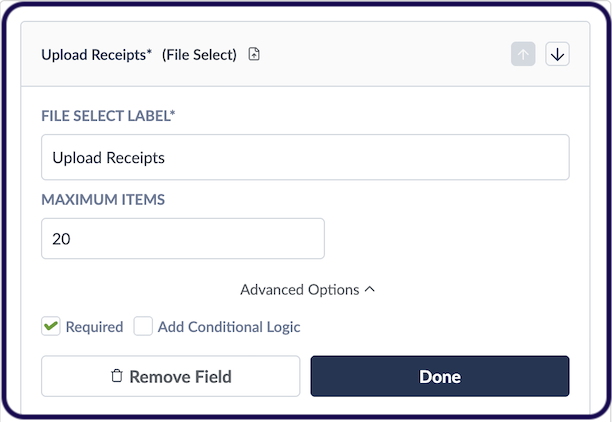
Form Submission Button
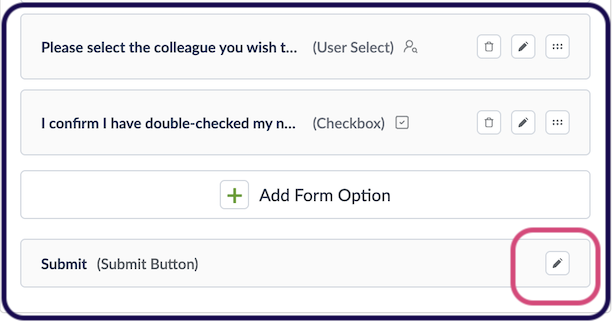
Below each of the field types you can add to create your form, you'll also see an option to edit the Submit button of your form. This is the button that sits at the bottom of the form, which the user presses when they are ready to submit the information they have entered / chosen in your form.
By default, the button is simply labelled Submit. You can use the Edit button to customise the label on this button:
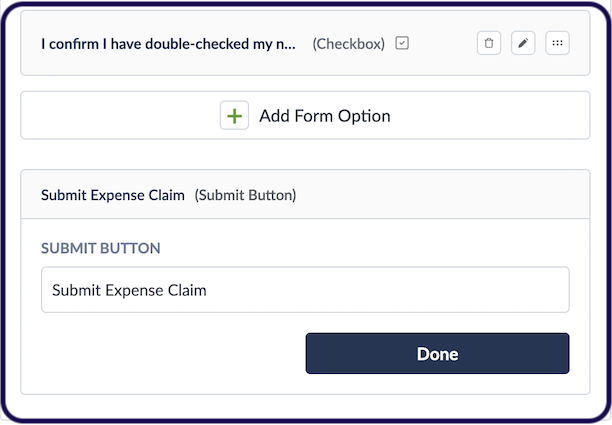
Use the Edit button shown above to make your Submit button more relevant to the form you have created. Such as 'Submit Nomination', 'Submit Expense Claim', 'Submit Leave Request' etc. Press Done when you're finished.
Publishing Your Form
When you're ready to publish your form, press Save and Publish Now on your List. Don't forget that because this is still a List, you should also use the Appearance tab to select a layout for other content you're posting in this List. And you can also use the List Explainers feature to explain to your employees how to use this form.
Getting the Form Submissions
All submissions by employees to your form will be shown in the form's downloadable report. And optionally you can set an email address to receive each form submission separately, incase the person who needs to process the submissions is not an app admin who has access to the Thrive CMS. Please see our separate Help Centre article here which covers the submission reporting and setting up an email address to receive submissions.
Examples and Guidance
The Formbuilder feature allows you to create so many different kinds of forms to collect information from your employees. These can be especially useful when you have remote and deskless employees who don't have access to complete such forms on your various internal company systems. If that's the case, why not move these processes to the system that ALL of your employees can access - your employee app!
With Thrive Formbuilder you can create:
- Award Nomination Forms
- Step / Walking Challenge Participation Forms
- Holiday Request Forms
- Shift-Swap Requests
- Employee Absence Notification Forms
- 'Ask the CEO' / Senior Leaders a Question Form
- Booking Forms
- Food Orders (like Christmas Dinners!)
- Form for Reporting Safety Issues or Concerns
- Feedback or Suggestion Forms
- End of Shift Vehicle or Machinery Checklists
- Uniform & PPE Order Forms
- Forms for Raising an IT Issue
- Event Registration Forms
- Club & Hobby Sign-up Forms
- Refer a Friend Incentive Forms
And many more! These kinds of forms, especially the operational 'have to complete' forms like vehicle and machinery checklists, shift-swaps, etc can really help to take your employee app from 'nice to have' to 'must have' for your employees. Anything like this that helps to solve a problem for the employee and for the business makes the question "Why should I use this app?" really easy to answer for you as a Champion and Administrator of your employee app!
Please see some of the other articles in the Formbuilder section of the Help Centre for more detailed guidance on how to actually go about creating forms for some of the examples listed above. And of course should you have any questions or if you would like to have a call with us to discuss the creation of your forms in more detail; don't hesitate to reach out to your Client Success Manager anytime!